
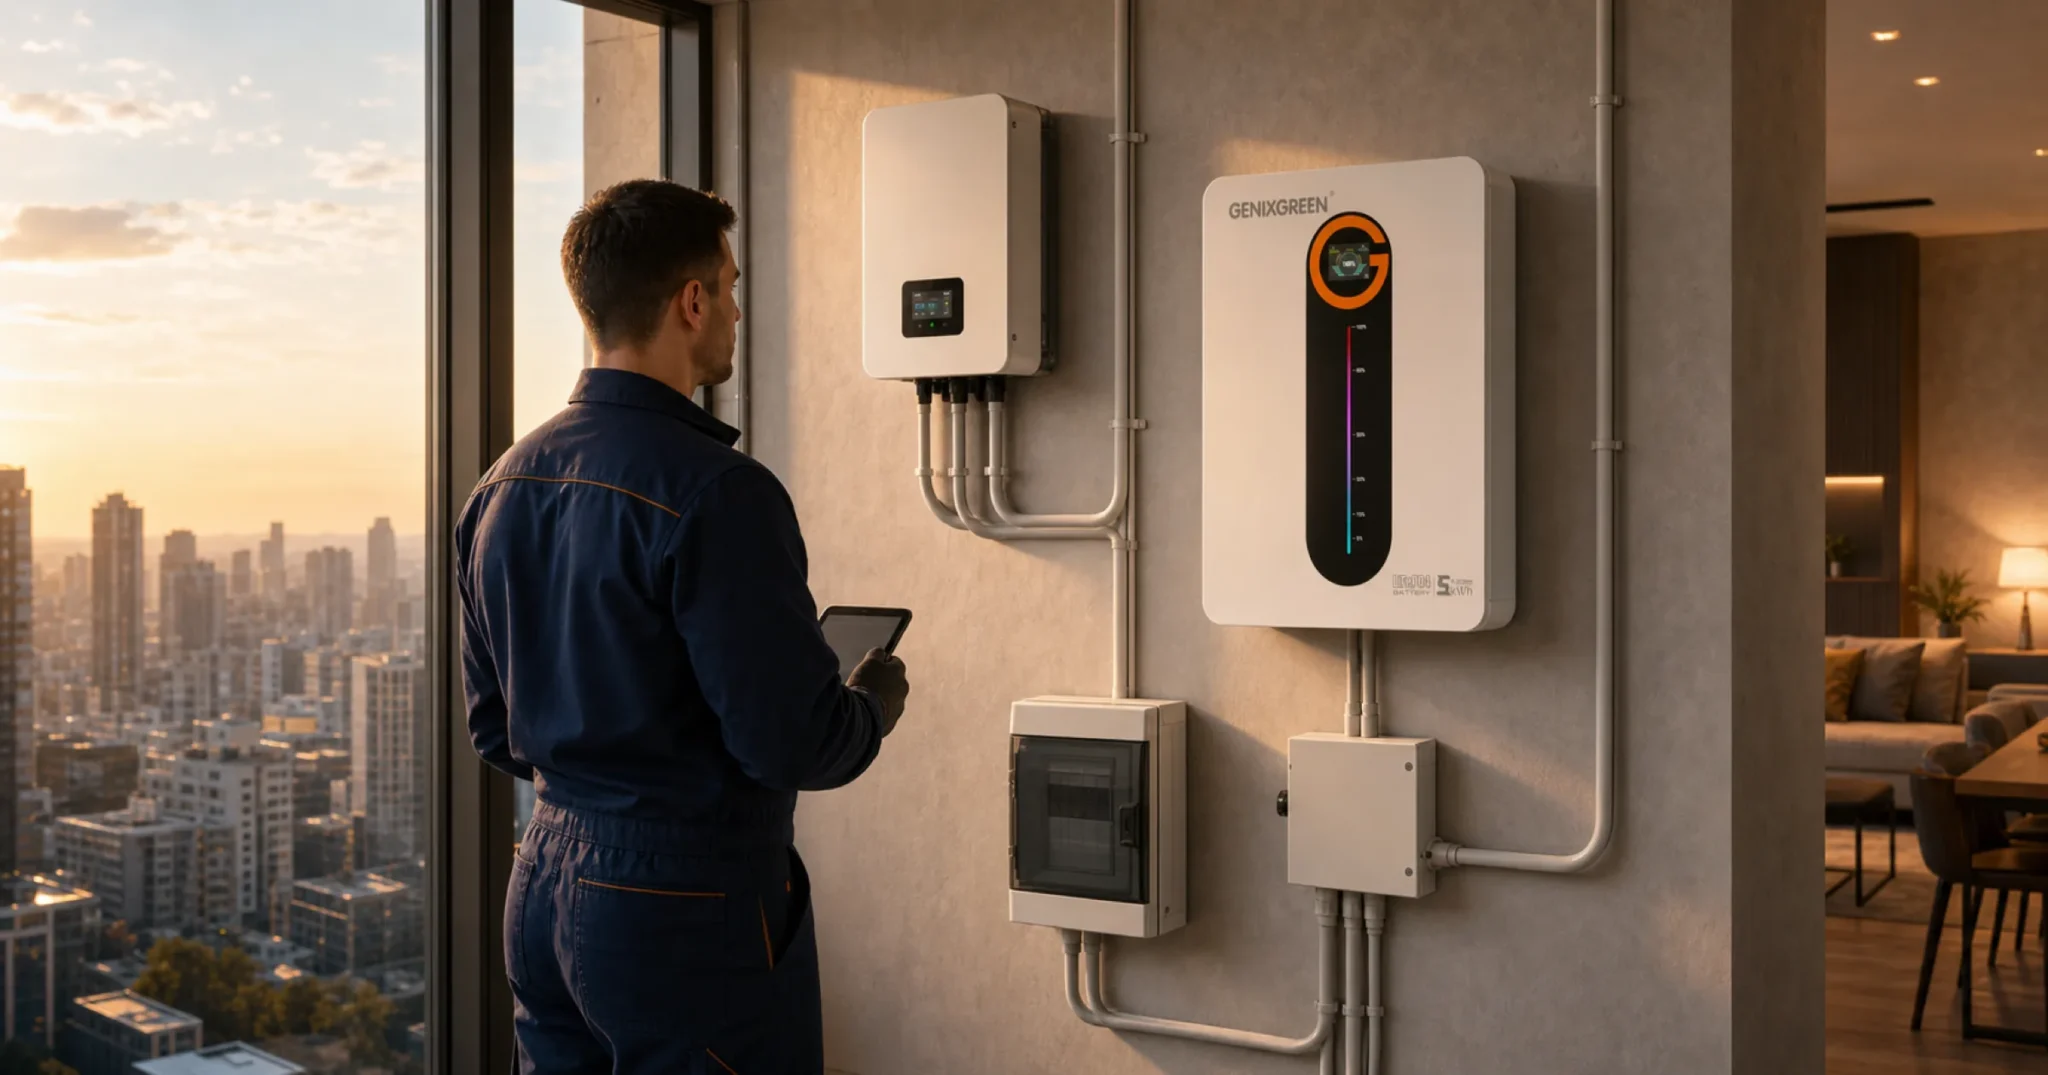
Before anything else: connecting an inverter to your home’s mains wiring and to the grid is licensed electrical work. This guide explains what that connection involves and how to recognise a competent, safe installation, so that you can ask the right questions and book the right professional. It is not a do-it-yourself wiring manual, and it deliberately does not give step-by-step wiring instructions, because the parts that carry the real risk, the AC connection, the earthing, the overcurrent protection, and the grid tie, must be done by a qualified electrician under your local grid operator’s process.
With that said, understanding the connection is genuinely useful. A homeowner who knows what a good install looks like chooses a better installer, keeps the right paperwork, and avoids the unsafe shortcuts that some informal fitters take. This guide walks through the two sides of the connection (the inverter to the battery, and the inverter to your home and the grid), the four safety pillars every installation has to satisfy, and a clear line between what you can do yourself and what only a licensed electrician may do. Genixgreen has manufactured LiFePO4 storage systems in its own factory since 2011 and supplies distributors in 100+ countries, and the aim here is a guide a dealer can hand straight to a customer to set honest expectations.
This is a connection and safety guide, not a buyer’s guide. Choosing the right unit lives in our hybrid inverter buyer’s guide; how the inverter works inside, the inverter types, and how to size one each have their own companion articles.
The short answer
Inverter connection safety starts with one boundary: DC links the battery to the inverter; AC links the inverter to the mains, distribution panel, and possibly the grid. The design must address isolation, polarity and appropriately rated overcurrent protection. The installation also requires appropriate protective earthing and bonding, selected by the electrician for the system. A homeowner may check that the plan covers these controls. A qualified electrician must make all hardwired AC and panel connections, select protection, decide earthing, and handle DSO requirements. It is not a DIY job.
What connecting an inverter actually means
People say “connect the inverter” as if it were one task, but it is really two connections with very different risk profiles, and treating them as one is where unsafe installs begin.
The first is the DC side: the inverter draws energy from the battery and charges it again, through direct-current cabling between the two. Battery voltage depends on the system; do not assume that all home batteries are low-voltage. High short-circuit current can also cause arcing and fire. The installer must assess both voltage and current hazards before making the connection.
The second is the AC side: the inverter is wired into your home’s alternating-current mains, into a consumer unit or a dedicated critical-loads panel, and, if the inverter can interact with the grid, into the utility connection itself. This side carries mains voltage and is tied to a network that other people work on, so the danger here is electric shock to you and to utility workers, on top of fire.
Both sides need the same four safety pillars, which is what the rest of this guide is built around. The framework is something you can understand; the work is something a professional performs.
The DC side: the inverter and the battery
This is the connection between the inverter and the battery it charges and draws from. The points below explain what has to be right and why, not how to make the connections.
Isolation and overcurrent on the battery side
Two things make a battery connection safe. A means of isolation (a correctly rated DC disconnect) lets the circuit be opened so the system can be made safe before any work. And a correctly rated overcurrent device (a DC fuse or breaker) clears a short circuit or overload before the high battery current can cause damage or a fire. The presence of both is non-negotiable; the rating and placement of both depend on the cable, the battery, and the inverter, and are decided by your electrician, not copied from a forum. If a quote leaves out DC isolation or overcurrent protection, that is a warning sign.
Polarity and the BMS communication link
Direct-current connections are polarity-sensitive: positive and negative are not interchangeable, and a reversed connection can destroy the inverter or the battery and create a hazard. This is one of several reasons the DC side is wired by someone who verifies polarity before energising. Separately, a good LiFePO4 system runs a closed-loop communication link (CAN or RS485) between the inverter and the battery’s management system (BMS), so the inverter respects the battery’s real-time limits.
One safety rule carries over from the battery side: do not charge an ordinary LiFePO4 battery below 0 °C unless the manufacturer explicitly supports the conditions and the required temperature controls are operating. Sub-freezing charging can cause lithium plating and damage, as Battery University (BU-410) explains. The installer must verify the battery’s charge protection and compatible inverter settings; a communication cable alone does not prove that protection works. The full cold-weather picture is in our LiFePO4 battery buyer’s guide.
A professional confirms compatibility before commissioning
A matching battery and inverter require more than a similar connector or a familiar voltage label. The electrician and equipment documentation must confirm the permitted DC voltage range, battery-management communication profile, protective design, and the local installation requirements before the system is energised. This is a compatibility check, not a wiring instruction, and it belongs in the documented handoff to the licensed installer.
The AC side: connecting to your home and the grid
This is the side that is strictly regulated, and for good reason. The inverter’s AC output is hardwired into your home’s mains and, when the unit is grid-interactive, into the utility connection. Two safety functions sit at the centre of it.
Anti-islanding and why backfeed is a life-safety issue
IEEE 1547 addresses interconnection and interoperability for distributed energy resources, including response to unintended islanding. The AESO DER Anti-islanding Screening and Study Guideline reproduces IEEE 1547 Clause 8.1.1: a distributed energy resource must detect the island, cease to energize the grid, and trip within two seconds of the formation of an island
[Source: AESO guideline]. This requirement helps prevent an unintended island from remaining energised. The local DSO and licensed electrician must confirm the applicable equipment, settings, and approval process for the specific installation.
The grid-interconnection process (your DSO)
Any inverter that can export to or interact with the grid needs an interconnection agreement with the grid operator. The IEEE 1547 framework covers interconnection and interoperability, including response to abnormal conditions. In Ukraine, your local distribution system operator (DSO) and licensed electrician must confirm the connection paperwork, equipment documentation, and commissioning requirements that apply to your property. Treat the electrician and the grid filing as part of the purchase, and check your DSO’s current requirements, because the rules and any tariff for export change over time.
The four safety pillars every connection must satisfy
Across both sides, four pillars decide whether a connection is safe. You are not expected to implement them; you are expected to recognise when they are present and to ask if they are missing.
1. Isolation
Every live source (the battery DC, any solar DC, and the grid AC) needs a means of isolation, so the system can be opened and made safe before anyone works on it. Isolators on each side are basic safety infrastructure.
2. Correct polarity and connection
DC connections are polarity-sensitive and AC connections must land on the right terminals; getting either wrong is dangerous. This is verified by the installer before the system is energised.
3. Earthing and bonding
Protective earthing and equipotential bonding are what keep you safe if a fault develops. A proper earth keeps the touch voltage on exposed metal below a safe level (the design target is under 50 V) and gives the protective devices a low-impedance path so they trip quickly to clear the fault, as the IEC 60364 earthing standard sets out. The earthing scheme for a building installation (the TN, TT, or IT arrangement) and the protective-conductor sizing are defined by the international electrical-installation standard (IEC 60364-5-54) and are chosen by your electrician for your property. This is never a DIY decision.
4. Overcurrent protection
Correctly rated fuses or breakers on the DC and the AC sides clear a short circuit or overload safely. The rating has to match the cable and the equipment; the wrong rating either fails to protect or trips for no reason. Selection is the electrician’s job.
| Safety pillar | What it protects against | Who decides it |
|---|---|---|
| Isolation | Working on a live circuit | Electrician (an isolator on each source) |
| Polarity and correct connection | Equipment damage, arcing, shock | Electrician, verified before energising |
| Earthing and bonding | Electric shock from a fault (touch voltage) | Electrician, to the installation standard (IEC 60364) |
| Overcurrent protection | Fire from a short circuit or overload | Electrician, rated to the cable and equipment |
The device itself must be certified
Safe connection assumes a safe device, and that is a separate question from the install. IEC 62109-1 and IEC 62109-2 set general and inverter-specific safety requirements for power converters used in photovoltaic systems. Request the applicable conformity and test documentation for the specific model rather than relying on a sticker. The installer must also confirm that the equipment documentation fits the requirements that apply to the project and market.
What you can do, and what only a licensed electrician may do
This is the heart of a safe outcome. The line is simple, and keeping to it is what separates a safe install from a dangerous one.
| You can | Only a licensed electrician may |
|---|---|
| Read the manual and understand the system | Make any hardwired AC connection to your mains |
| Choose the location (a heated indoor space is best for the battery) | Wire the consumer unit or critical-loads panel |
| Confirm the installation plan and the four pillars are covered | Design and install the earthing and bonding |
| Keep all certificates and documentation | Select and fit the DC and AC overcurrent protection |
| Demand the IEC 62109 / CE document and the DSO paperwork | File the grid-connection agreement with your DSO |
The only exception is a plug-in all-in-one unit that integrates the battery and inverter and needs no electrical work to use. Even then, if the unit can export to the grid, the grid-interaction rules still apply. For any hardwired hybrid or off-grid inverter, there is no safe DIY path for the AC side; do not let anyone tell you otherwise.
A pre-install checklist for Ukrainian homes
Run through this before the work starts, and ask your installer to confirm each point in writing.
- Device: certified to IEC 62109, with a signed CE Declaration of Conformity supplied.
- Installer: a qualified, licensed electrician booked for the hardwired work.
- Grid: the interconnection application to your local DSO started, with the electrician filing the paperwork.
- Isolation: a means of isolation on the battery DC side, any solar DC side, and the AC side.
- Overcurrent: correctly rated DC and AC overcurrent protection specified.
- Earthing: protective earthing and bonding designed to the installation standard.
- Battery location: a heated indoor space where possible, so the battery stays in its safe charging range through the winter.
- Documentation: all certificates, the connection agreement, and the commissioning record kept together.
- Selection done first: the unit already chosen and sized for your home, using the buyer’s guide and the sizing guide rather than guessed.
Frequently asked questions
Can I connect an inverter to my battery and grid myself?
No, not the parts that matter. The DC side carries a very high short-circuit current and the AC side carries mains voltage and ties into the utility network, so any hardwired connection, the earthing, the overcurrent protection, and the grid filing must be done by a qualified electrician under your local grid operator’s process. A homeowner can understand the framework, choose the location, and keep the paperwork, but the wiring is licensed work. The only no-electrical-work exception is a plug-in all-in-one unit.
What does connecting an inverter to the grid involve in Ukraine?
A grid-interactive inverter needs an interconnection agreement with your local distribution system operator (DSO). The operator sets the rules the inverter must follow, reviews the installation, and grants permission before the system can be activated. Your licensed electrician files this paperwork as part of the install. Because the rules and any export tariff change over time, check your DSO’s current requirements rather than relying on older information.
Why can’t a solar or hybrid inverter just be plugged in?
A hardwired inverter is connected into your home’s mains and into a critical-loads panel, and a grid-interactive one is tied to the utility. This involves mains voltage, earthing, overcurrent protection, and a regulated grid connection, none of which is a plug-in task. The exception is an all-in-one unit designed to plug in, which integrates the battery and inverter; for everything else, the connection is electrical work.
What is anti-islanding and why does it matter for connection?
Anti-islanding is a safety control that stops a grid-interactive inverter from pushing power back onto the utility line during an outage. Without it, the inverter could energise a line that repair crews believe is dead and injure or kill a worker. It is one of the main reasons grid connection is a regulated act and must be done correctly by a licensed installer.
Does the inverter need to be earthed and grounded?
Yes. Protective earthing and bonding keep the touch voltage on exposed metal safe if a fault develops and let the protective devices trip quickly. The earthing scheme and the conductor sizing are set by the electrical-installation standard and chosen by your electrician for your property. This is a core safety pillar, not an optional extra, and it is not a DIY decision.
What can I do myself before the electrician arrives?
Plenty that is useful and safe. Read the manual, decide where the equipment will go (a heated indoor space for the battery), confirm the installation plan covers isolation, polarity, earthing, and overcurrent protection, gather the device certificates, and start the DSO application with your installer. You are preparing and checking, not wiring.
Can an inverter be connected to an apartment distribution panel?
It may be possible, but the apartment distribution panel is part of the building’s mains installation, so a licensed electrician must assess the panel, critical loads, earthing arrangement, protective devices, and local DSO requirements before any connection is made. Do not treat an apartment panel as a convenient outlet for an inverter. The safe homeowner action is to give the electrician the inverter and battery documentation, identify the loads that need backup, and request a written installation plan.
Is inverter connection different in an apartment than in a detached home?
The safety boundary is the same: DC battery connection, AC mains connection, protective earthing, overcurrent protection, and any grid interaction need a professional design and installation. An apartment can add building-level constraints, shared electrical infrastructure, and access rules, so the electrician must evaluate the specific property rather than copying a detached-home arrangement. Check your local DSO’s current requirements if the inverter can interact with the grid.
How do I know whether my battery matches the inverter before connection?
Start with the manufacturer documentation, not a wiring diagram. Your licensed electrician should confirm the inverter’s supported battery voltage range, the battery-management communication compatibility, the protective design, and the applicable local rules before commissioning. If those items are not documented, pause the installation and ask the supplier or installer to resolve the compatibility question in writing.
The right next step
Connecting an inverter safely comes down to one rule: understand the framework, then have a licensed electrician do the work under your local grid operator’s process. These four pillars are a starting framework, not proof of compliance; the electrician must verify the complete installation against applicable requirements. If you have not yet chosen the unit, our hybrid inverter buyer’s guide walks selection step by step, the sizing guide helps you match the power rating to your home, and the how-it-works guide explains what the device does inside. To see the matched inverter and storage range, including the systems we hold in our Odesa-region warehouse for fast local supply, visit our product range. For the wider backup picture, start with the whole-home backup power guide. If you are a dealer or installer serving customers in Ukraine, our partners page explains how to work with us.